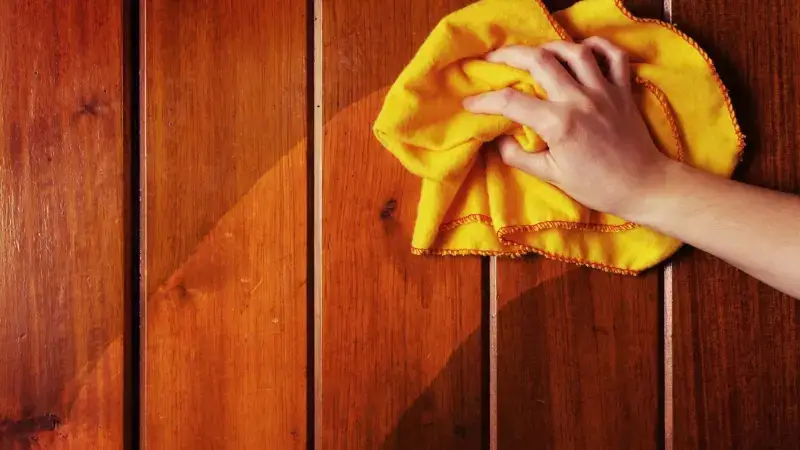
Secrets to Polishing and Enhancing Wood Grain at Home
Polishing and enhancing the wood grain of your furniture isn't just
about making it look shiny; it's about a deep, satisfying process that restores a piece's natural
beauty and protects it for years to come. Whether you’re working with a new piece or revitalizing a
family heirloom, the right techniques can bring out the rich colors and unique patterns of the wood,
making it a true centerpiece in your home. This is essential for a top-rated sofa set in
Indore or any piece you want to keep.
Here are the secrets to achieving a professional-quality polish and
enhancing that beautiful wood grain right in your own home.
1. The Prep Work is Everything: Clean and Assess
Before you even think about applying polish, you must prepare the
surface. The quality of your final result is directly dependent on the cleanliness of the
wood.
- What: The goal
is to remove all dirt, dust, grime, and old waxy buildup from the surface.
- Why: Polishing
over a dirty or waxy surface will trap the grime underneath, resulting in a cloudy, uneven
finish that will not last. A clean, smooth surface allows the polish to be absorbed evenly
and makes the grain pop.
- How:
- Dust:
Start by using a soft, lint-free cloth to remove all loose dust.
- Clean:
For a deeper clean, mix a few drops of a mild dish soap with water and lightly
dampen a cloth. Wring it out thoroughly so it’s barely moist, and gently wipe the
furniture, following the grain. For tougher grime, a cleaner specifically designed
for wood furniture can be used.
- Dry:
Immediately after cleaning, use a dry cloth to completely dry the surface.
- Assess:
After cleaning, examine the wood for any deep scratches or blemishes. While polish
can hide minor imperfections, deep marks may require sanding or a wood filler before
you proceed.
- When: This
preparation step should be done every time you plan to polish your furniture, and a simple
dusting should be part of your weekly routine. This is how you take care of a
quality furniture in indore.
2. Choose the Right Polish for the Job
Not all polishes are created equal. The type of polish you choose will
depend on the wood’s finish and the desired effect.
- What: The secret
here is using the right product whether it’s a wax, oil, or a commercial polish for your
specific furniture.
- Why:
- Waxes:
Beeswax or carnauba wax-based polishes create a durable, protective barrier and a
deep, lustrous shine. They are excellent for enhancing the natural look of the
grain.
- Oil-Based Polishes: Products containing natural oils like tung oil or boiled
linseed oil are great for untreated wood or pieces with an oil finish. They
penetrate the wood to nourish it from within, bringing out a rich, deep color in the
grain.
- Commercial Polishes (Sprays): Many commercial sprays contain a mix of conditioners and
cleaning agents. While convenient for quick touch-ups, they often contain silicone,
which can create a waxy buildup over time and make future refinishing
difficult.
- How: Always test
the polish on a small, inconspicuous area first to ensure it gives you the desired
result.
- When: Use a wax
or oil-based polish a few times a year for a deep, lasting enhancement. Use a commercial
spray for quick, between-polish touch-ups.
3. The Art of Application: Thin Layers and Following the Grain
This is where the magic happens. The key to a beautiful finish is a
thin, even application. More is not better it will only lead to a sticky, uneven surface.
- What: The secret
is applying the polish in thin, even layers, always working with the natural direction of
the wood grain.
- Why: Applying
polish against the grain can leave unsightly streaks and can force the product into the
pores of the wood unevenly. A thin application ensures the product dries and cures
correctly, resulting in a smooth, streak-free shine. This is a crucial step for
top furniture in Indore.
- How:
- Use a Clean Cloth: Apply a small amount of polish to a soft, clean
cloth.
- Work in Sections: Work on one small section of the furniture at a
time.
- Follow the Grain: Gently rub the polish into the wood using a circular
motion initially, then finish by stroking in the direction of the wood grain to
smooth out any application marks.
- Wait:
Allow the polish to sit for a few minutes as directed by the product
instructions.
- When: Apply one
thin layer at a time. If more luster is desired, you can apply a second thin layer after the
first has dried completely.
4. The Final Touch: Buffing to a High Shine
Buffing is the final, crucial step that brings out the deep luster and
truly enhances the wood grain.
- What: This
involves using a clean, dry cloth to remove any excess product and create a brilliant,
protective sheen.
- Why: Buffing
removes any residual polish and creates friction that helps to heat the wax or oil, allowing
it to penetrate the wood and create a durable, long-lasting shine. This is what you would
expect from a wooden bed manufacturer in Indore.
- How:
- Use a fresh,
clean, and dry microfiber cloth.
- With light to
moderate pressure, buff the surface in quick, small, circular motions.
- Flip the cloth
frequently to use a clean section.
- When: Buffing
should be done immediately after the polish has set or, for waxes, after the wax has hazed
over.
By following these secrets, you can transform your furniture from dull
to dazzling, revealing the beautiful, rich wood grain that lies beneath. It’s a rewarding process
that not only enhances your furniture's appearance but also helps to protect it for years to
come.


